Tuesday, June 19, 2018

Oil Well Flats Hitchhiker


Hitchhiker #4 with Beads


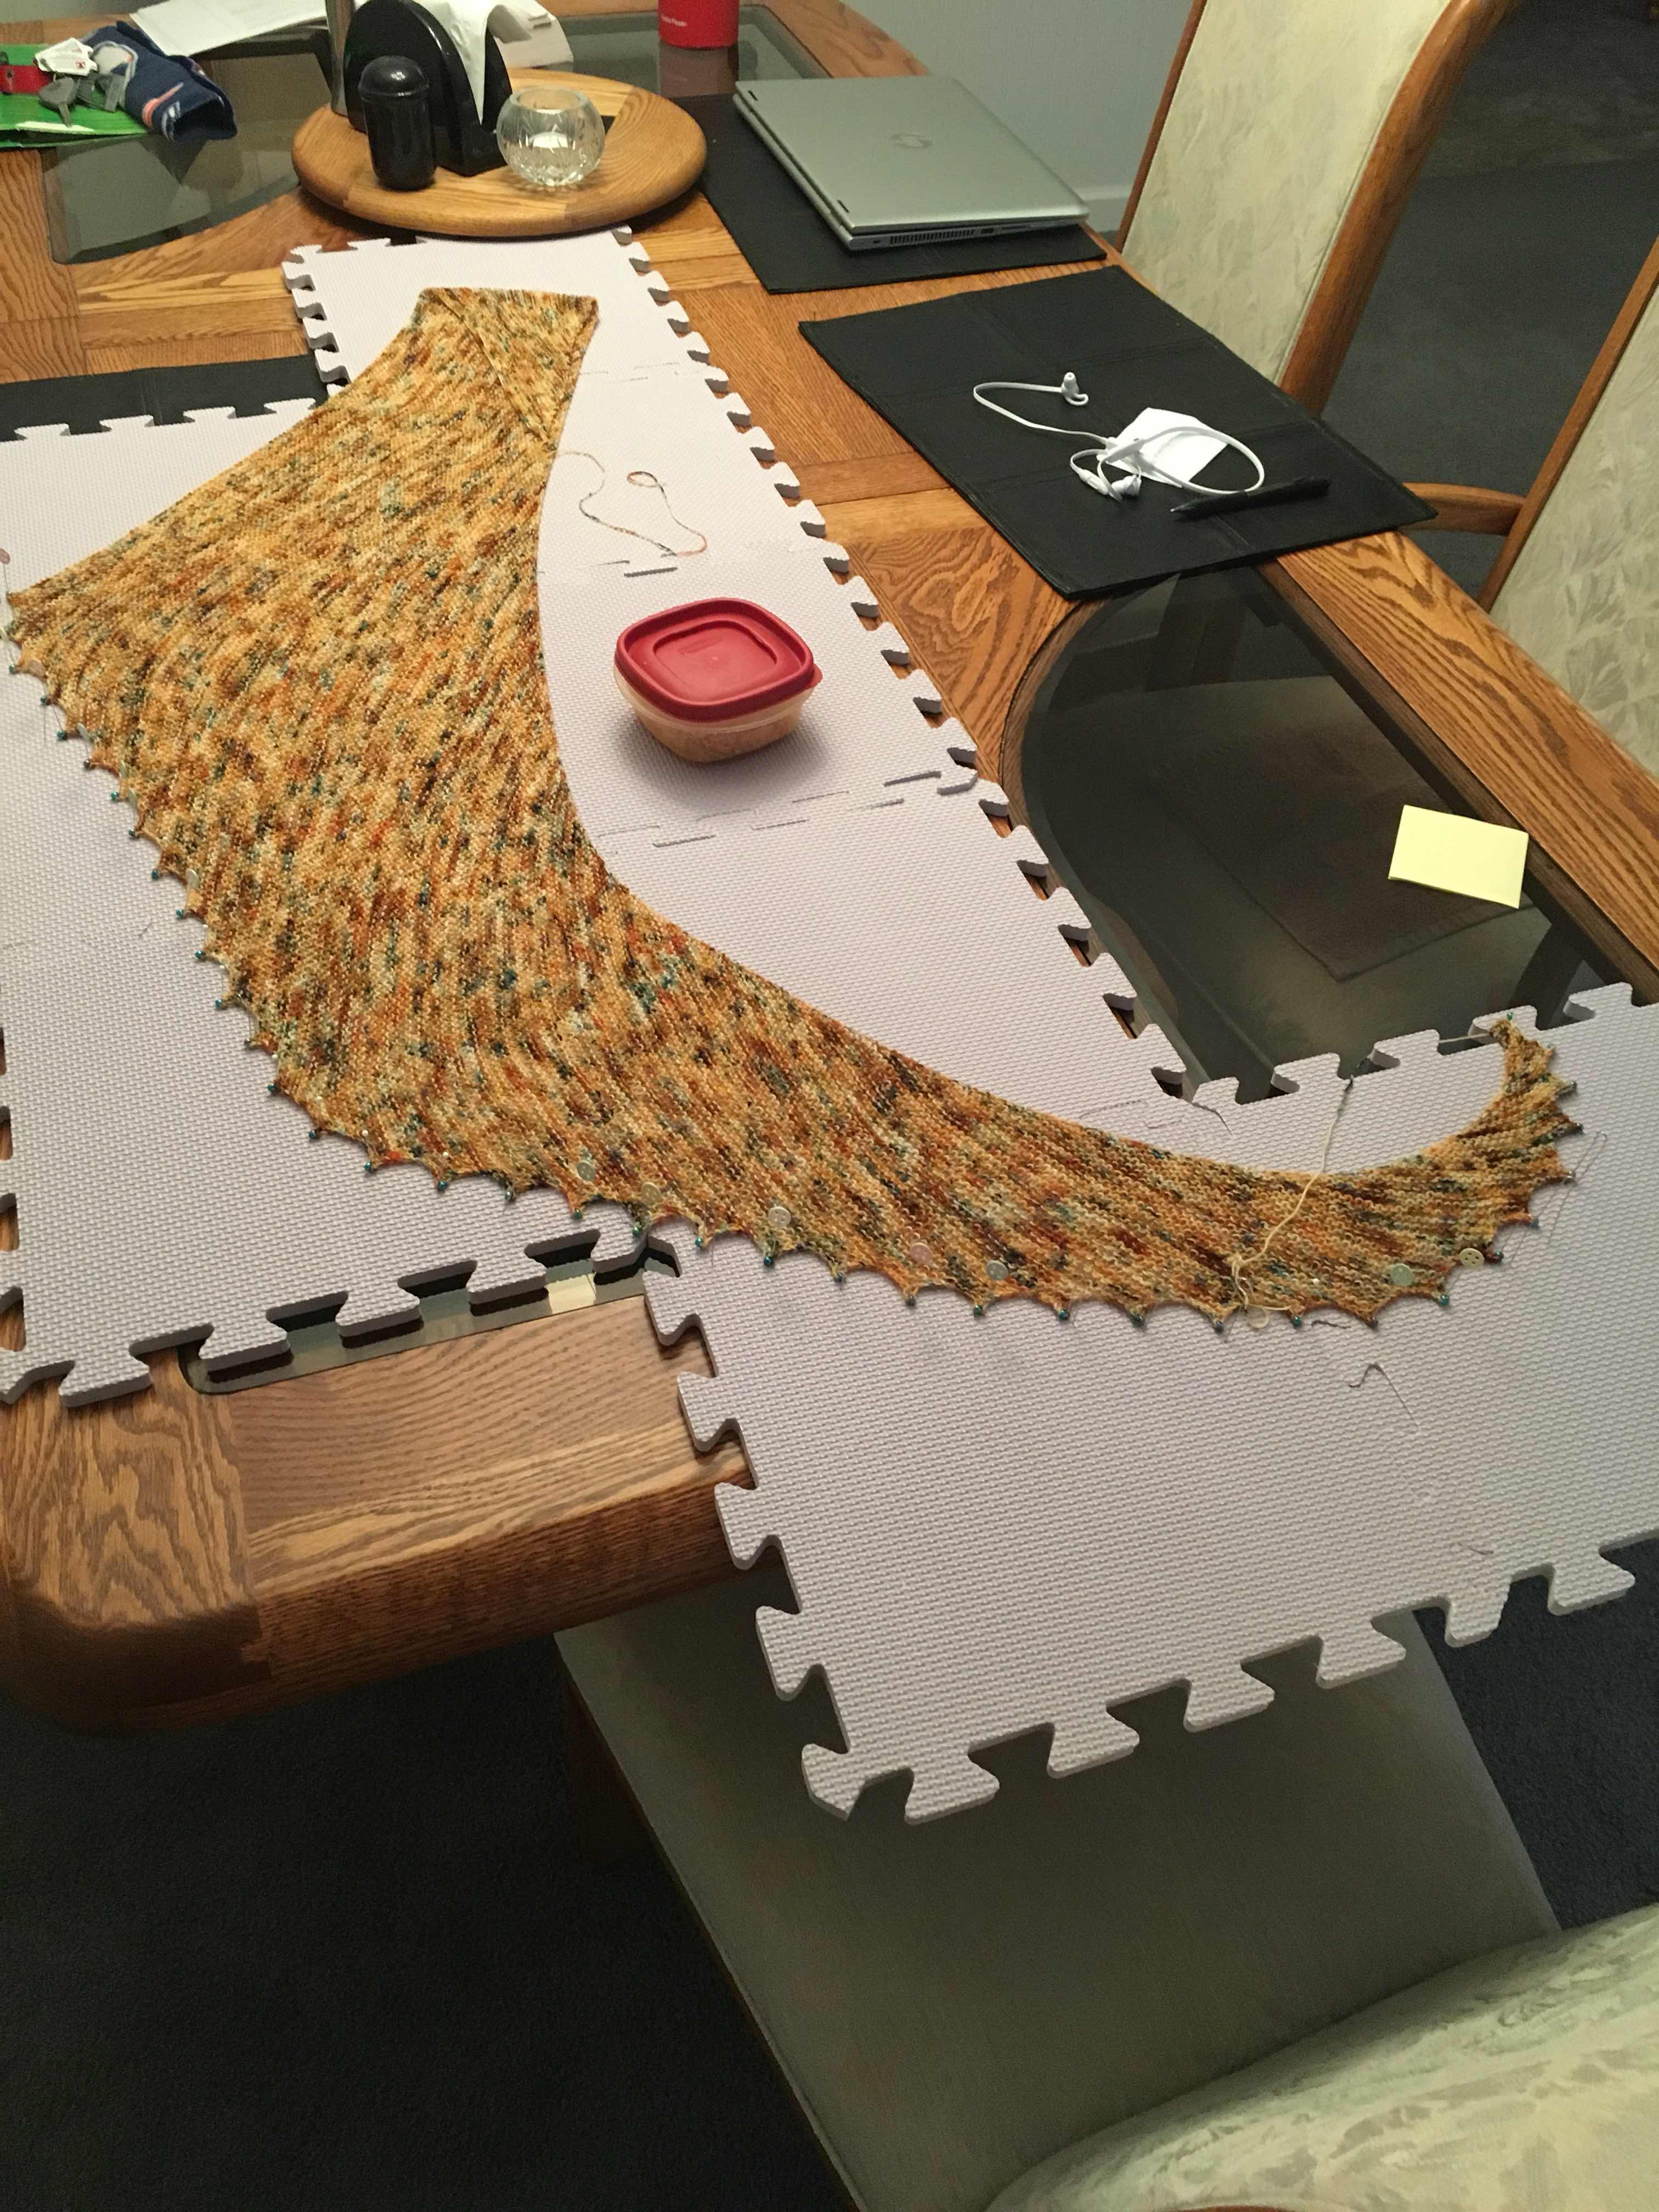
I think this is the 4th Hitchhiker I've made; this time I added beads.


This yarn is very special!  This yarn was hand dyed by Andromeda Sock Yarn especially for my local knit shop "Yarned & Dangerous".  This yarn has a pretty cool story too.

I was at my local yarn shop and the owner, Ann, was excited to tell me that the Indie Dyer from Andromeda Sock Yarn was willing to hand dye yarn especially for the shop. Ann asked if I had any suggestions and I did. I said that I thought it would be cool to have yarn with colors that reflect the geography of our local area... the places where I love to walk... the places that make our county (Fremont County) so unique and special.  I suggested places such as Skyline Drive, Tunnel Drive, and Oil Well Flats.  I even sent some photos from my recent hikes in the areas to Ann and I think she might have sent them to the yarn dyer.

A few weeks later, Ann announced that the yarn was in and I raced to the shop and snagged two hanks.  This yarn is called "Oil Well Flats", which is a place north of Canon City, Colorado.  It's a great place to hike and mountain bike.


Here are some photos of the Oil Well Flats area from a hike a few months back. I think the colors in the yarn reflect the colors in the Oil Well Flats area very well.  What do you think?


Friday, June 8, 2018

Norah's Vintage Afghan: Block #16 is Complete


Norah's Vintage Afghan: Block #16


I have not done any work on my Norah's Vintage Afghan Project in several months.  I had started block #12 (maybe?) several months ago and, when I pulled it out to work on it this past week, I then realized I was using the incorrect color. So I skipped ahead to Block #16 which called for the Black Currant color.  It is difficult to photograph the squares done in such dark colors, so here are just a few photos to give you an idea what this block looks like. The chart looks so complicated but this block was actually pretty easy.  There are just for different cable stitches and all are worked over just four stitches.  The instructions also call for a bobble. I think the bobble instructions are incorrect.  The instructions basically indicate you should "knit into the front and the back of the next stitch two times" which should result in FIVE stitches in the original stitch.  That just doesn't add up.  For my bobbles, I knit into the front and the back two times and then knit into the front of the stitch one more time to yield FIVE stitches.  I really like how the bobbles are knit up in this pattern. You do not have to turn your work repeatedly when you make your bobbles.


It was so fun to whip up this block. I think I'll start another.


Chart for Block #16 Norah's Vintage Afghan.


Tuesday, June 5, 2018

Pembroke


Pembroke


I bought this unusually dyed yarn in Coeur d'Alene, Idaho, last July when I was visiting my sister.  The yarn shop, called "Knit-n-Crochet," was so nice, bright, and cheerful, and the people were so friendly.  The shop owner (or an employee?) was knitting a project called "My Lucky Number" using this yarn and I liked the looks of the project.  The yarn is Alexandra's Crafts "Dark Side of the Moon" (Twilight colorway) and it is hand dyed in Silverton, Oregon.

After purchasing the yarn, I wasn't so sure I wanted to make the "My Lucky Number" project after all. So the yarn just sort of sat awaiting a purpose.  When I was at the Interweave Yarnfest just a few months ago, a lady walked past me and she was wearing an asymmetrical triangular-shaped garter stitch wrap around her neck. I loved the look of her wrap and thought it might be a good pattern for my Twilight yarn.  Thankfully, the lady remembered and told me the pattern name: Pembroke.  Turns out, it's a free pattern on Ravelry. Score!  In a lot of ways, this pattern reminds me of the Hitchhiker pattern except it has no "teeth: on the edge of the project.  I think this pattern and this yarn are a great pairing.  I love how it shows off the little rainbow bits of yarn.  It also turns out that this fingering weight yarn would have not been the best choice for socks since this yarn only contains Merino wool and Tussah (silk).  There is no nylon in this yarn.

Here is a photo of the wrap on my blocking mats.  It think the project grew considerably when I blocked it. I soaked it first in tepid water and a few drops of Eucalan and then just layed it out to block (I did not bother with any pins in blocking).  Since the project is in garter stitch, it tends to want to lay flat so blocking was a piece of cake.


Here is a photo of the yarn label (above). Below you can see what the yarn looked like on the hank. When I unwrapped the hank, a second rainbow dyed portion was revealed.  Love it!


We are having a very hot June here in Colorado. It's expected to be in the 90's for the next two weeks.  It will be quite some time before I can wear this pretty wrap, but I am very pleased with how it turned out.


Saturday, June 2, 2018

A Little Sewing: Burrito Pillow Cases


BURRITO PILLOW CASES


I've not been finding a lot of time to knit lately but I've gotten some sewing projects done.  I've heard about Burrito Pillow Cases for years; my mom has made them in the past. I finally got around to trying out this super ingenious project and I love it.


The photo above shows how the fabrics are rolled together while sewing.  See the tutorial links below for more information.

If you've never heard of Burrito Pillow Cases before, let me explain. These are pillow cases you can sew for bed pillows.  You use three fabrics; one fabric is the main or primary fabric of the pillow case, the second fabric is for a little bit of accent, and the third fabric is for the cuff portion of the pillow case where you insert a bed pillow.  What is so great about the project is that you roll the fabrics in special way (before stitching) so that all of the fabric raw edges are enclosed and will not unravel.  Here is a great video to watch that explains the project from start to finish.  This is the pattern and instructions I followed for my first pillow case.


Link for video tutorial #1:

There are gobs of other videos and written tutorials on the Internet for how to make pillow cases using this same process. The tutorial above will work for many fabrics you might want to use; however, some fabrics are "one way" or "directional" and this tutorial might not work.  For example, if you have a fabric with words or images that read best from one selvage edge to the other selvage edge, then the words or images might be sideways when you place your pillow on your bed. That was the case with my second pillow case. This fabric contains images and words from the "Marauder's Map" from Harry Potter.  This second link will give you some ideas for how to make a Burrito Pillow Case if you are using a directional fabric. Frankly, I just sort of winged it on my pillow case #2 since I understood the process and how things were supposed to go together.  But I wanted to include the second link in case some might find it useful.

Link for video tutorial #2 (for one way or directional fabrics):


Sylvia's pillow cases using Harry Potter "Marauder's Map" fabric is shown above.  It was fun letting this Harry Potter fan select fabrics for her pillow case!  She selected the paw print fabric since the colors looked so good with the Marauder's Map fabric.  The accent fabric is kind of subtle but it's super pretty in person.  It is solid black fabric with a metallic copper squiggle design.  I am currently re-reading all of the Harry Potter books. It occurred to me that the paw prints in the fabric Sylvia selected are cat paw prints.  The Harry Potter books feature a character named Argus Filch. He is a caretaker at the Hogwarts School of Witchcraft and Wizardry.  Argus Filch has a cat named Mrs. Norris who is always alerting Argus Filch when students at Hogwarts are misbehaving at school.  I told Sylvia that the paw print was not only a good choice because it looks so nice, but it was also a good choice because we can call the paw prints Mrs. Norris' paw prints.