Felted Tote with Flowers

More than two years ago, I took a class at my local yarn shop to make this felted tote. The class primarily focused on making flowers and leaves and other embellishments to decorate the tote. I quickly feel out of love with the project. I had the tote about half done and the only flowers I made were the flowers I made in class.
Fast forward about two years. I had signed up for a class to make felted slippers on September 15, 2018, with the same instructor and I still had not finished the project from the last class she taught more than two years prior. I considered ripping apart the bag and using the wool from the bag for the slippers. It turns out the yarn I needed for the slippers is worsted weight and the yarn I used in the tote is chunky weight. So I guess this was the Universe's way of telling me to finish the tote.
So this week I madly worked on the bag and finished it up. I made a few flowers, too. Finally... this project is complete.
Here are some photos to show you the completed tote and some other photos which show what the photo looked like while in progress. The finished bay is about 11 inches tall. It is about 16 inches wide and about 5 inches deep. The bottom of the bag is rectangular in shape. To give you an idea how much this bag shrank when felted, the bag was about 23 inches tall prior to felting. I felted the heck out of this bag!

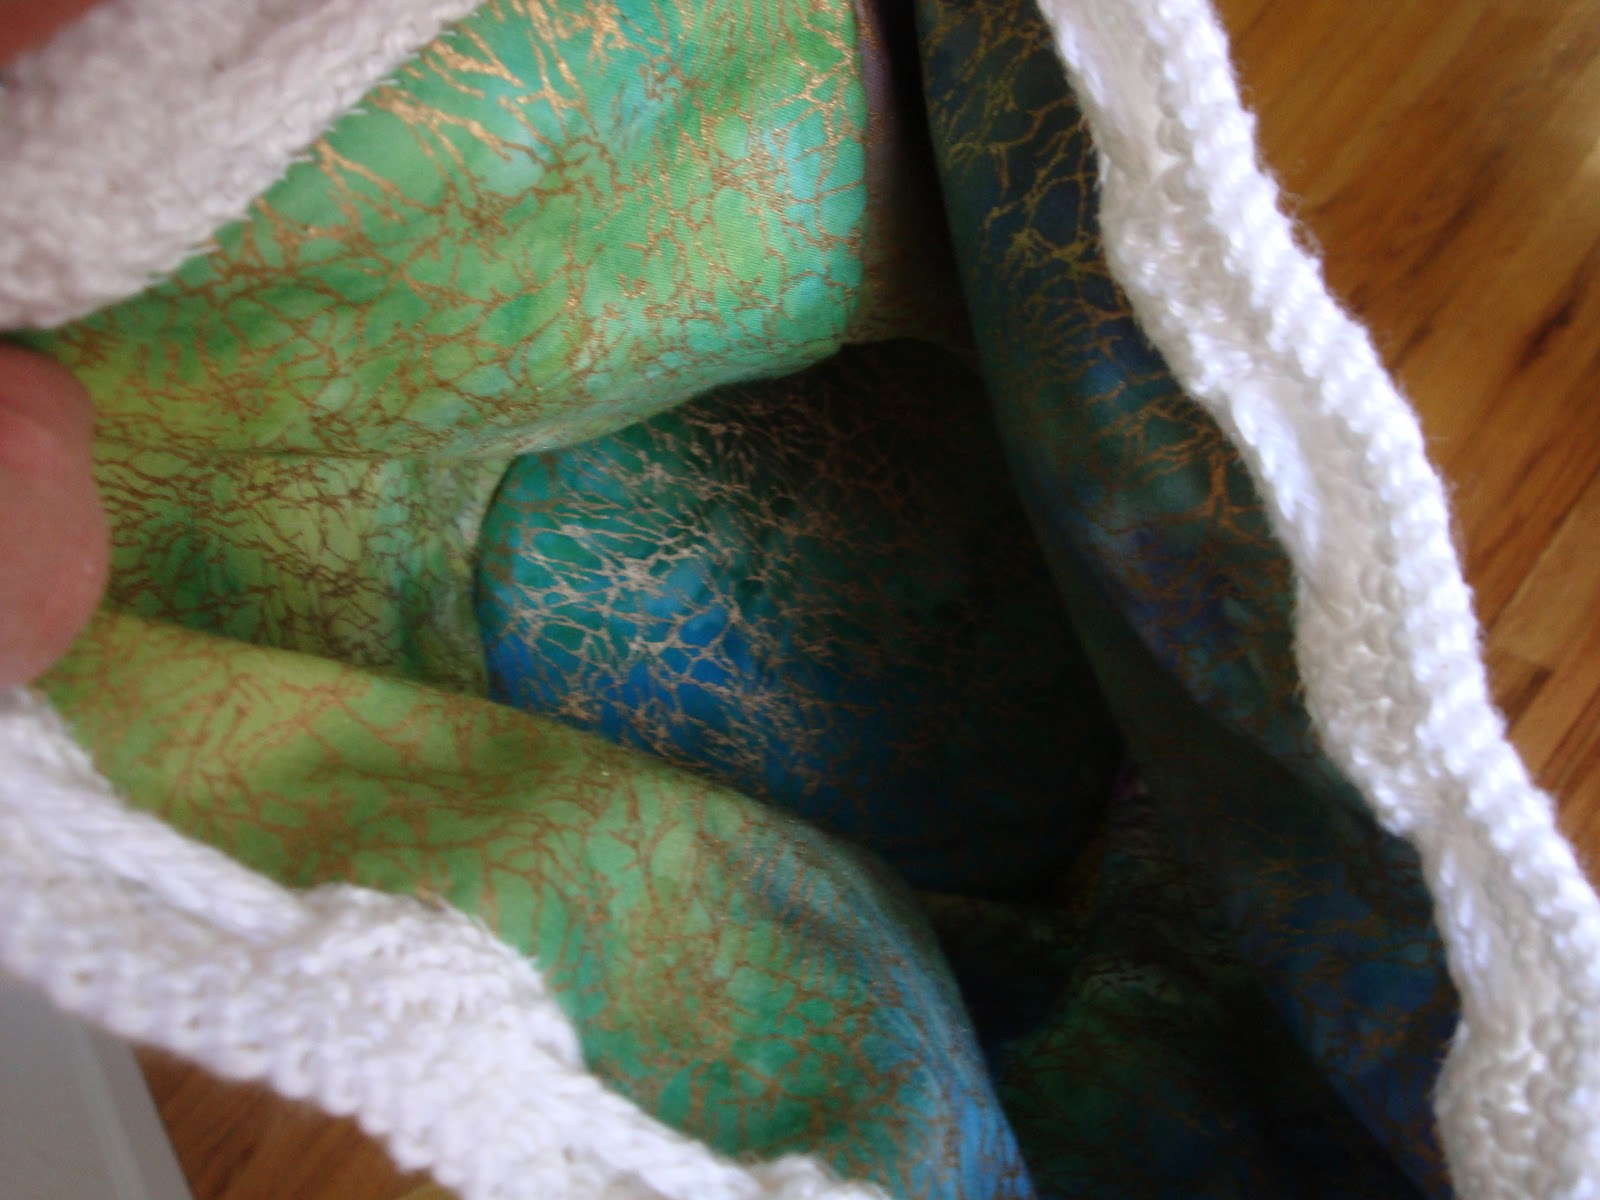
I love the fabric I used for lining. I was contemplating shopping for special fabric to line the bag but I looked across my craft room and noticed this plaid flannel sitting on the shelves. I actually used the wrong side of the flannel for the lining so it looks like cotton (not flannel). If I am not mistaken, this is fabric I got from my mom. Thanks, Mom!


In the bottom of the bag, I used a piece of foam poster board from the craft section of the store; you can also find foam poster board in office supply stores. I cut the foam poster board to size and then made a little fabric pillow case for the foam poster board. I sewed shut the pillow case to complete enclose the board in fabric. It's nice to have a little rigidity at the bottom of the bag I think.

Here's a photo I snapped just prior to felting.

This is what the flowers looked like after felting; I just ended up using three of the flowers.

Here is a photo of the bag while I am knitting it. The green is my t-shirt,the blue is my shorts, and you can see that the bag goes all the way from my hips to below my knee. You can also see the stitch definition in the knitting. All of the stitches disappear in the felting process. It's amazing!
Today (9-15-18) I took the felted slipper class and I already have one slipper nearly completed. We are finishing the slippers over the course of the next week and then next Saturday we will go to the instructor's home and we will all felt our slippers together. Phew! So glad it's NOT going to take me two plus years to complete this project!
Other miscellaneous information:
Yarn used for the tote is Kraemer Mauch Chunky in the "Eggplant" color way.
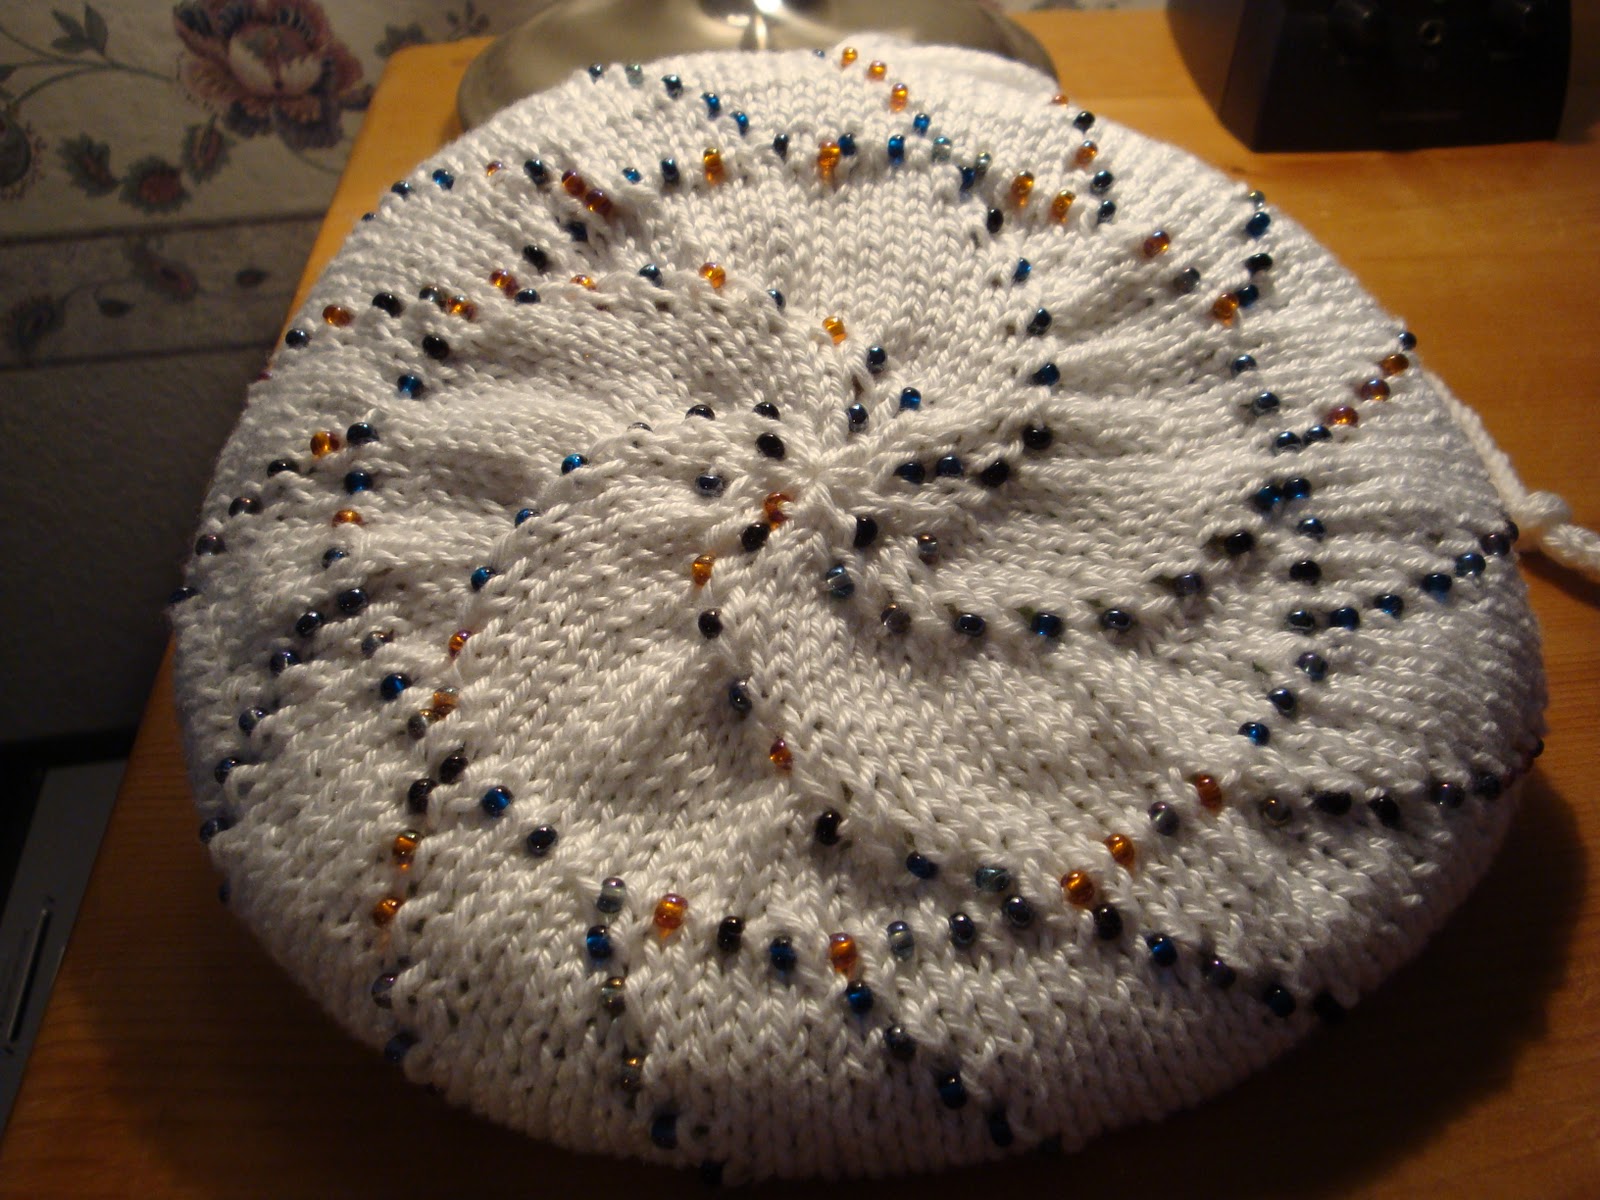
Flowers were crocheted in Plymouth Gina.
Pattern link (tote)... Montana Felted Eco-Tote click HERE.
Pattern link (flowers used on my bag)... click HERE.