Showing posts with label sewing. Show all posts

Thursday, August 29, 2019

Happy Scrappy Quilt


Happy Scrappy Quilt


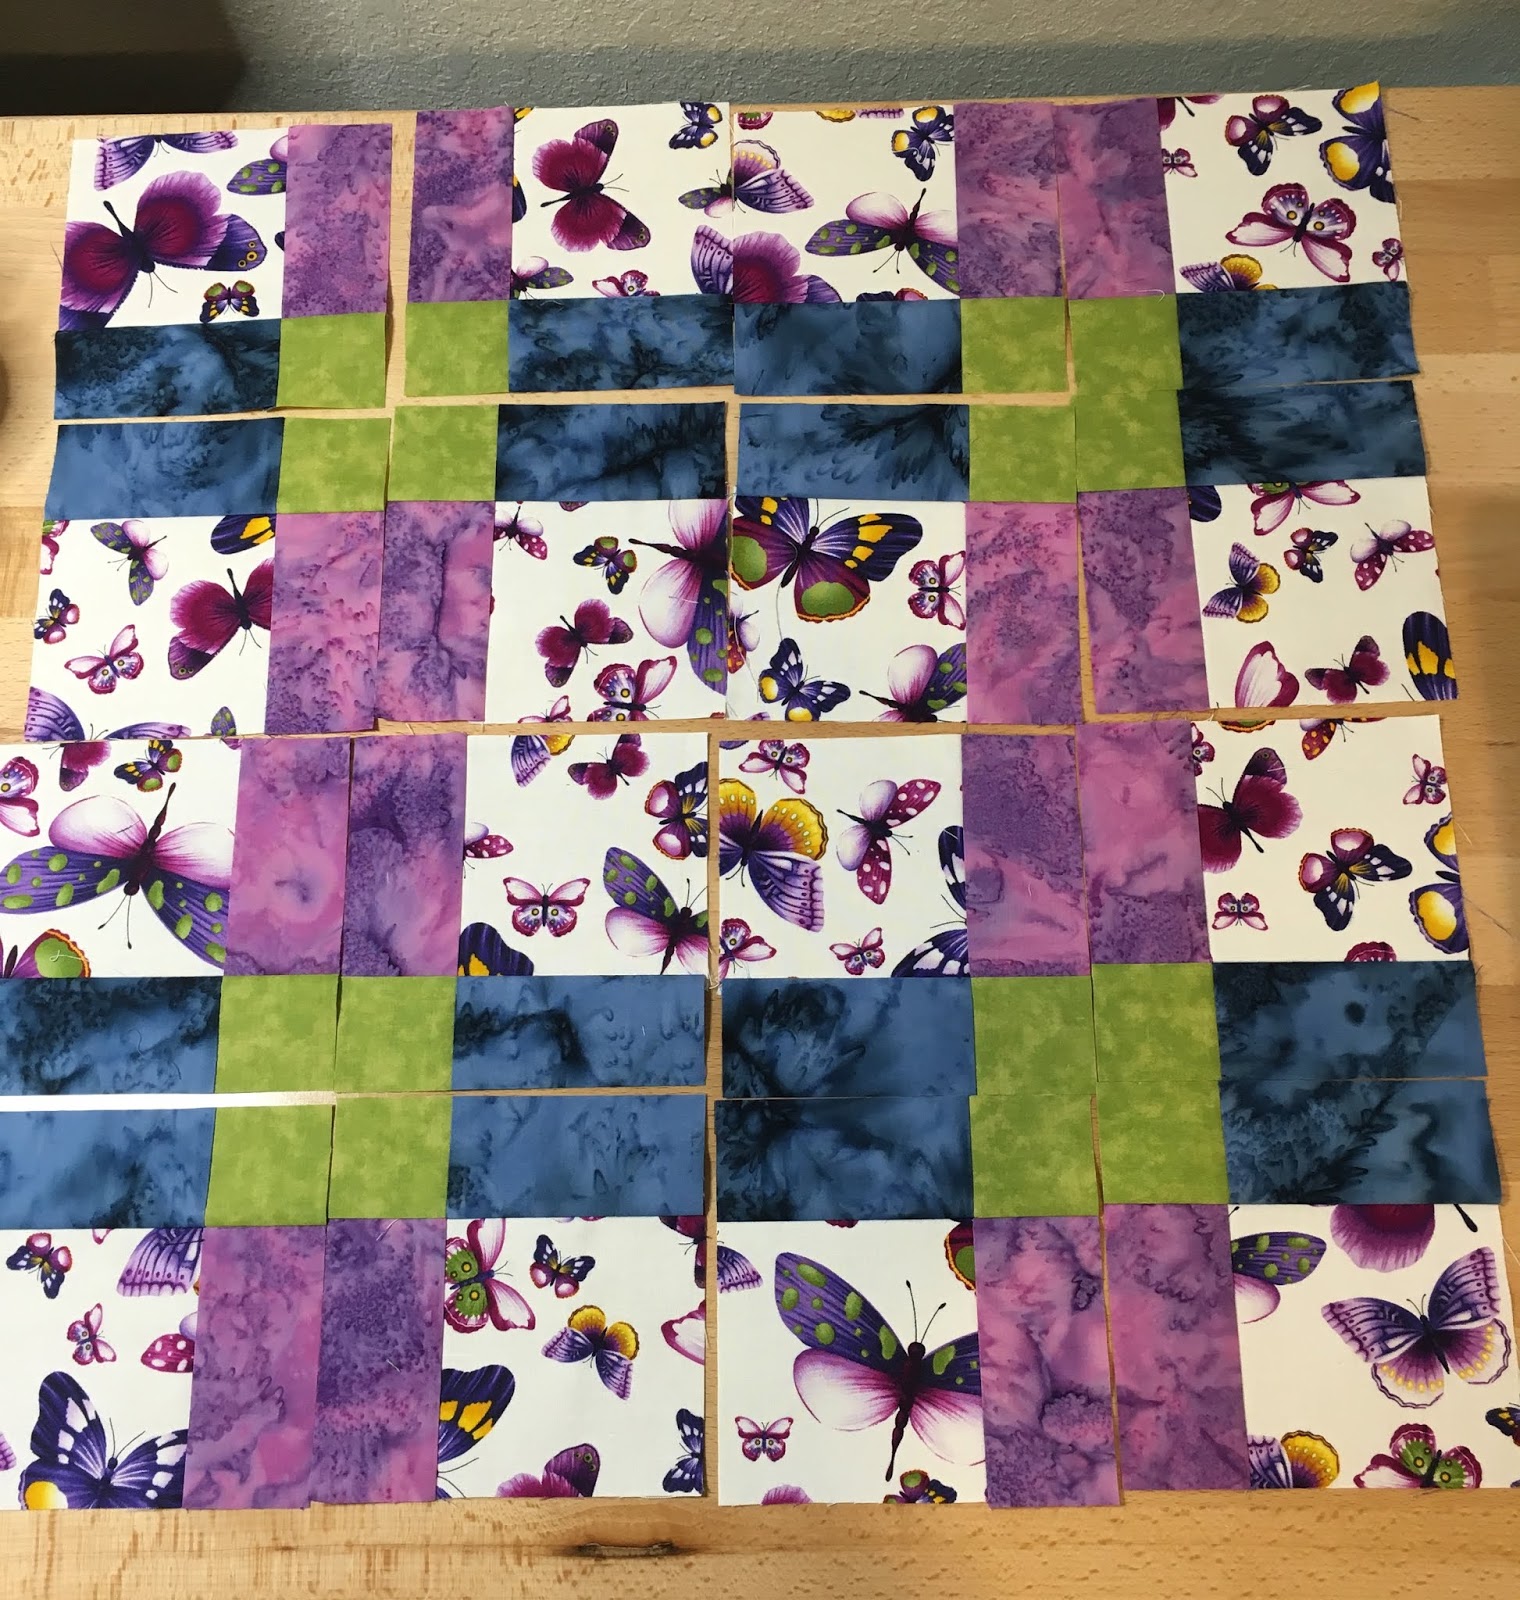
I made this quilt using materials I had on hand.  The quilt is assembled from gobs of 4 inch squares as you can see. The quilt is backed with yellow fabric which is decorated with Snoopy and polka dots.  I hand tied the quilt with lavender colored DMC Perle cotton.  I love how cheerful and bright this quilt turned out.  Sandy approves as well.  


Wednesday, August 7, 2019

I am behind: Here are Some Quilt Projects I've made Lately


Quilt Projects


I've been so busy learning to quilt that I have not taken the time to post much lately. Here is a little catch up.  Above is a little table top quilt I made using four fat quarters. I just made a bunch of Half Square Triangles and then put them together in a way that I thought looked nice.


Above is a wall hanging I made using two half yard pieces of ombre fabrics.  I tried to arrange the pin wheels so that they fade from one color to another.  


Above is a wall hanging I made using a winter-themed fabric.  The aqua blue fabric has cardinals and snow flakes on it. I intended to hanging this up during the holiday season but we ended up hanging it in the laundry room.  It's colorful and cheerful.  The design I used for this project is called Disappearing Nine Patch.


Here's another Disappearing Nine Patch project.  Above you can see four nine patch blocks.  Once you make the nine patch block, you cut each nine patch into four pieces by making vertical and horizontal cuts in the center.  Then you rearrange the pieces and stitch them all together again.  This project hasn't found a home yet.    


Monday, August 5, 2019

"Pressed Leaves" Quilt (Table Runner/Wall Hanging)


Pressed Leaves

I've been learning to quilt and I am enjoying it so much.  My friend, Belinda, noticed there was a Quilt Expo in Castle Rock, Colorado, a few weeks back.  We went and we found some great projects.  I bought a pattern called "Pressed Leaves" by Tonya Alexander.  The vendor who had the pattern had this great news print fabric which is the same fabric that is pictured in the pattern. For the colorful leaves, I used scrap fabric I had at home.  I am really pleased with how this turned out.  I love the piecing part of quilting but I am finding it very difficult to do the quilting/top stitching on large objects.  This table runner/wall hanging was a manageable size.  We hung this wall hanging in our front entry way. 

This pattern can be found at www.stashlabquilts.com


Sunday, August 4, 2019

I'm Making a Quilt: Part II


The block above is called "The Post Office


The block above is called "Ice Cream Parlor"

More Quilt Blocks...

Over the past few months, I've been learning to quilt. I made a number of 12.5 x 12.5 inch blocks from a Sampler Sew Along found on www.whitneysews.com.  Along the way, I started following another quilting group on Facebook which is hosted by Pat Sloan. She is also offering a free sew along called "Main Street" and I really liked the look of that project as well.  As luck would have it, the "Main Street" quilt blocks are also 12.5 x 12.5 inches.  I decided I would start making the "Main Street" quilt blocks until I ran out of the fabric that I had purchased for the original WhitneySews sew along. 

Pictured here are the Main Street quilt blocks.  All of the blocks are named after shops you might find along Main Street. 


The block above is called "Courthouse".


The block above is called "Five and Dime"


The block above is called "Books on Main". I was tired when I cut the fabric for this block so I accidentally cut enough for two blocks. Whoops!


The block above is called "Movie Theatre"


The block above is called "The Bank"


The block above is called "Beauty Shop/Barber Shop"

I've been learning about Quilt As You Go (QAYG) techniques.  I am planning to put this quilt together using one of the various QAYG techniques.  


Friday, May 31, 2019

Pinwheel Wall Hanging


Pinwheel Wall Hanging


In the past few months, I have really, REALLY gotten back into sewing. I mean REALLY!  So much so that I purchased a new sewing machine and a serger and I totally revamped my craft space.  I am having so much fun!  The short version of the long story is that a good friend, Kerri (we've known each other since 4th grade), sent me some amazing fabric to make her some dog bone shaped pillows. The fabric was amazing and there were lots of leftovers. I was determined to make her some nice knitting project bags but I had to make some practice bags first.  

It is absolutely amazing how many craft tutorial videos you can find on the Internet!  I have found a few ladies who were making various pouches and bags (some with zippers and some without) and I just kept building my skills as I worked my way through the various patterns I liked.

Here are my favorite bloggers/YouTube video channels:

Whitney Sews
Confessions of a Home Schooler
Charmed by Ashley

Whitney from Whitney Sews is having a quilt sampler sew along and I decided to take the plunge and buy the required fabric amounts to make the sampler. She has already put out 9 of 12 videos for the quilt and I am anxiously awaiting the next three blocks.  My excitement about quilting got me looking at other designs. I really like the look of pinwheels. I made a few that had some problem spots.  I kept looking at a variety of internet videos and I found one video that helped me make some great looking pinwheels without a big bulky spot in the center.  I made up these four pinwheels and was so proud. I added some sashing between the pinwheels and added batting, backing, and a binding.  I love how it turned out; it's hanging on the wall in my newly organized/rearranged craft room.  Soon I'll show you my quilt blocks for my quilt sampler sew along.  I love that I am learning new skills with each and every block. I am addicted!


Friday, December 28, 2018

Christmas Gifts... Sewing


Christmas Gifts

I started this post a year ago and never finished it.  This Christmas and last Christmas I made up some Christmas gifts.  I just thought I'd put them in one post... my mom likes to see what I sew.

At the very top, a fleece blanket I made up for Sylvia (my son's girlfriend).  I just trimmed the edges of the fleece with a rotary cutter and then perforated little holes around the perimeter of the blanket with a skip stitch blade in my rotary cutter. Then I just crocheted a simple border around the blanket. She loves this blanket. She brings it with her every time she comes to visit.


I also made up some pot holders.  A lot of these cute fabrics are from my Mom's fabric stash. Thanks, Mom!


This year and last year I also made up a number of soup bowl cozies.  These are not microwave safe but it's nice to put a hot bowl of soup or oatmeal in a bow cozy to keep your hands from burning.  I like using two contrasting fabrics in the bowl cozies. The cozies are reversible so you can use what ever side you like.  I made the bowl cozie in blue for Zach.


The bowl cozy in tan and burgundy features a Harry Potter themed fabric; it's a fabric that resembles the Marauders Map.  Sylvia loves the Harry Potter books so this bowl cozy was made for her.


This bowl cozy with flames on it was my practice bowl cozy.  I gave this one to Zach, too!


I am suddenly having a difficult time adding photos to my blog posts and it's messing with the formatting. So I apologize if this post comes through a little weird looking.  Frustrating!


Saturday, June 2, 2018

A Little Sewing: Burrito Pillow Cases


BURRITO PILLOW CASES


I've not been finding a lot of time to knit lately but I've gotten some sewing projects done.  I've heard about Burrito Pillow Cases for years; my mom has made them in the past. I finally got around to trying out this super ingenious project and I love it.


The photo above shows how the fabrics are rolled together while sewing.  See the tutorial links below for more information.

If you've never heard of Burrito Pillow Cases before, let me explain. These are pillow cases you can sew for bed pillows.  You use three fabrics; one fabric is the main or primary fabric of the pillow case, the second fabric is for a little bit of accent, and the third fabric is for the cuff portion of the pillow case where you insert a bed pillow.  What is so great about the project is that you roll the fabrics in special way (before stitching) so that all of the fabric raw edges are enclosed and will not unravel.  Here is a great video to watch that explains the project from start to finish.  This is the pattern and instructions I followed for my first pillow case.


Link for video tutorial #1:

There are gobs of other videos and written tutorials on the Internet for how to make pillow cases using this same process. The tutorial above will work for many fabrics you might want to use; however, some fabrics are "one way" or "directional" and this tutorial might not work.  For example, if you have a fabric with words or images that read best from one selvage edge to the other selvage edge, then the words or images might be sideways when you place your pillow on your bed. That was the case with my second pillow case. This fabric contains images and words from the "Marauder's Map" from Harry Potter.  This second link will give you some ideas for how to make a Burrito Pillow Case if you are using a directional fabric. Frankly, I just sort of winged it on my pillow case #2 since I understood the process and how things were supposed to go together.  But I wanted to include the second link in case some might find it useful.

Link for video tutorial #2 (for one way or directional fabrics):


Sylvia's pillow cases using Harry Potter "Marauder's Map" fabric is shown above.  It was fun letting this Harry Potter fan select fabrics for her pillow case!  She selected the paw print fabric since the colors looked so good with the Marauder's Map fabric.  The accent fabric is kind of subtle but it's super pretty in person.  It is solid black fabric with a metallic copper squiggle design.  I am currently re-reading all of the Harry Potter books. It occurred to me that the paw prints in the fabric Sylvia selected are cat paw prints.  The Harry Potter books feature a character named Argus Filch. He is a caretaker at the Hogwarts School of Witchcraft and Wizardry.  Argus Filch has a cat named Mrs. Norris who is always alerting Argus Filch when students at Hogwarts are misbehaving at school.  I told Sylvia that the paw print was not only a good choice because it looks so nice, but it was also a good choice because we can call the paw prints Mrs. Norris' paw prints.


Sunday, October 15, 2017

Fleece Blankets with Crochet Border


Fleece Blankets with Crochet Border


I finally got to try out a project I've wanted to try for quite some time.  This is a fleece blanket where I've simply added a crochet border. This project is quick and easy thanks to a gadget called a "Skip-Cut Rotary Blade Cutter".  I found this special blade at a JoAnn's Store in Spokane, Washington, back in July. Since then, I've made up four blankets.

In the photo above, you can see that the special blade perforates the fleece at regular intervals so that you can easily crochet around the perimeter of your fleece blanket. I used my Fiskars 45 mm rotary cutter for this project and I also used self-healing mats and large rulers.

First I used the ruler, cutter, and mat to make sure all sides of the fleece were square and even.  Then I used the rotary cutter with the skip-cut blade to perforate the holes in the fleece.  I used a tutorial from Project Linus to get a little more information.  It turns out that it is recommended that you make the holes about 1/2 inch in from the edge so you can fold the raw edge over as you crochet.  In some photos below you can see the folded raw edge and how it is captured under the crochet stitches.  
You can add more elaborate crochet borders to fleece blankets but, for my blankets I like the clean look of a single crochet. It looks a lot like blanket stitch to me.  For my blankets I actually did a single crochet in each hole and then a change between each hole.  I also added extra stitches in the corners.  

Here is the tutorial on the Project Linus website if you'd like more information (Click HERE).


My first two blankets are for our living room.  The fleece is from JoAnn's and is a medium gray color.  The fabric is decorated with the names of different wines in different fonts and colors.  I put the blankets in the living room when it was cold and snowy last week.  The dogs LOVE these blankets!  The two legged creatures in the house are enjoying the blankets as well.  

Yarn used:  Smarty DK by King Cole


Above:  Brutus is enjoying the folded up blanket.  He can see out the window and warns us if any squirrels are trespassing in the back yard.


Above:  Sandy is snoozing.  See, I am telling you.... these dogs love these blankets!  So soft and cuddly.


Zach came home from college for a visit this weekend.  He liked the looks of our new blankets. I showed him this great geometric print fleece remnant I got at JoAnn's a few months back.  It was actually quite big for a remnant.  Zach said he liked it so I found some great charcoal gray yarn and added a border to his blanket so he can take it back to school with him tomorrow.  I promised to make him a larger blanket over the holidays; I'd like for him to pick out the fleece himself.


Above:  Some close ups of the stitches; notice the extra stitches in the corners.  On Zach's blanket, I put six single crochets in each corner.

Yarn used:  Cascade Pacific


Above: In this photo, you can see both the right side and the wrong side of the blanket.  The right side edge is seen in the lower portion of the photo.  The wrong side edge is seen in the upper portion of the photo.  You can see that the raw cut edge of the fleece is folded over and is captured under the crochet stitches.