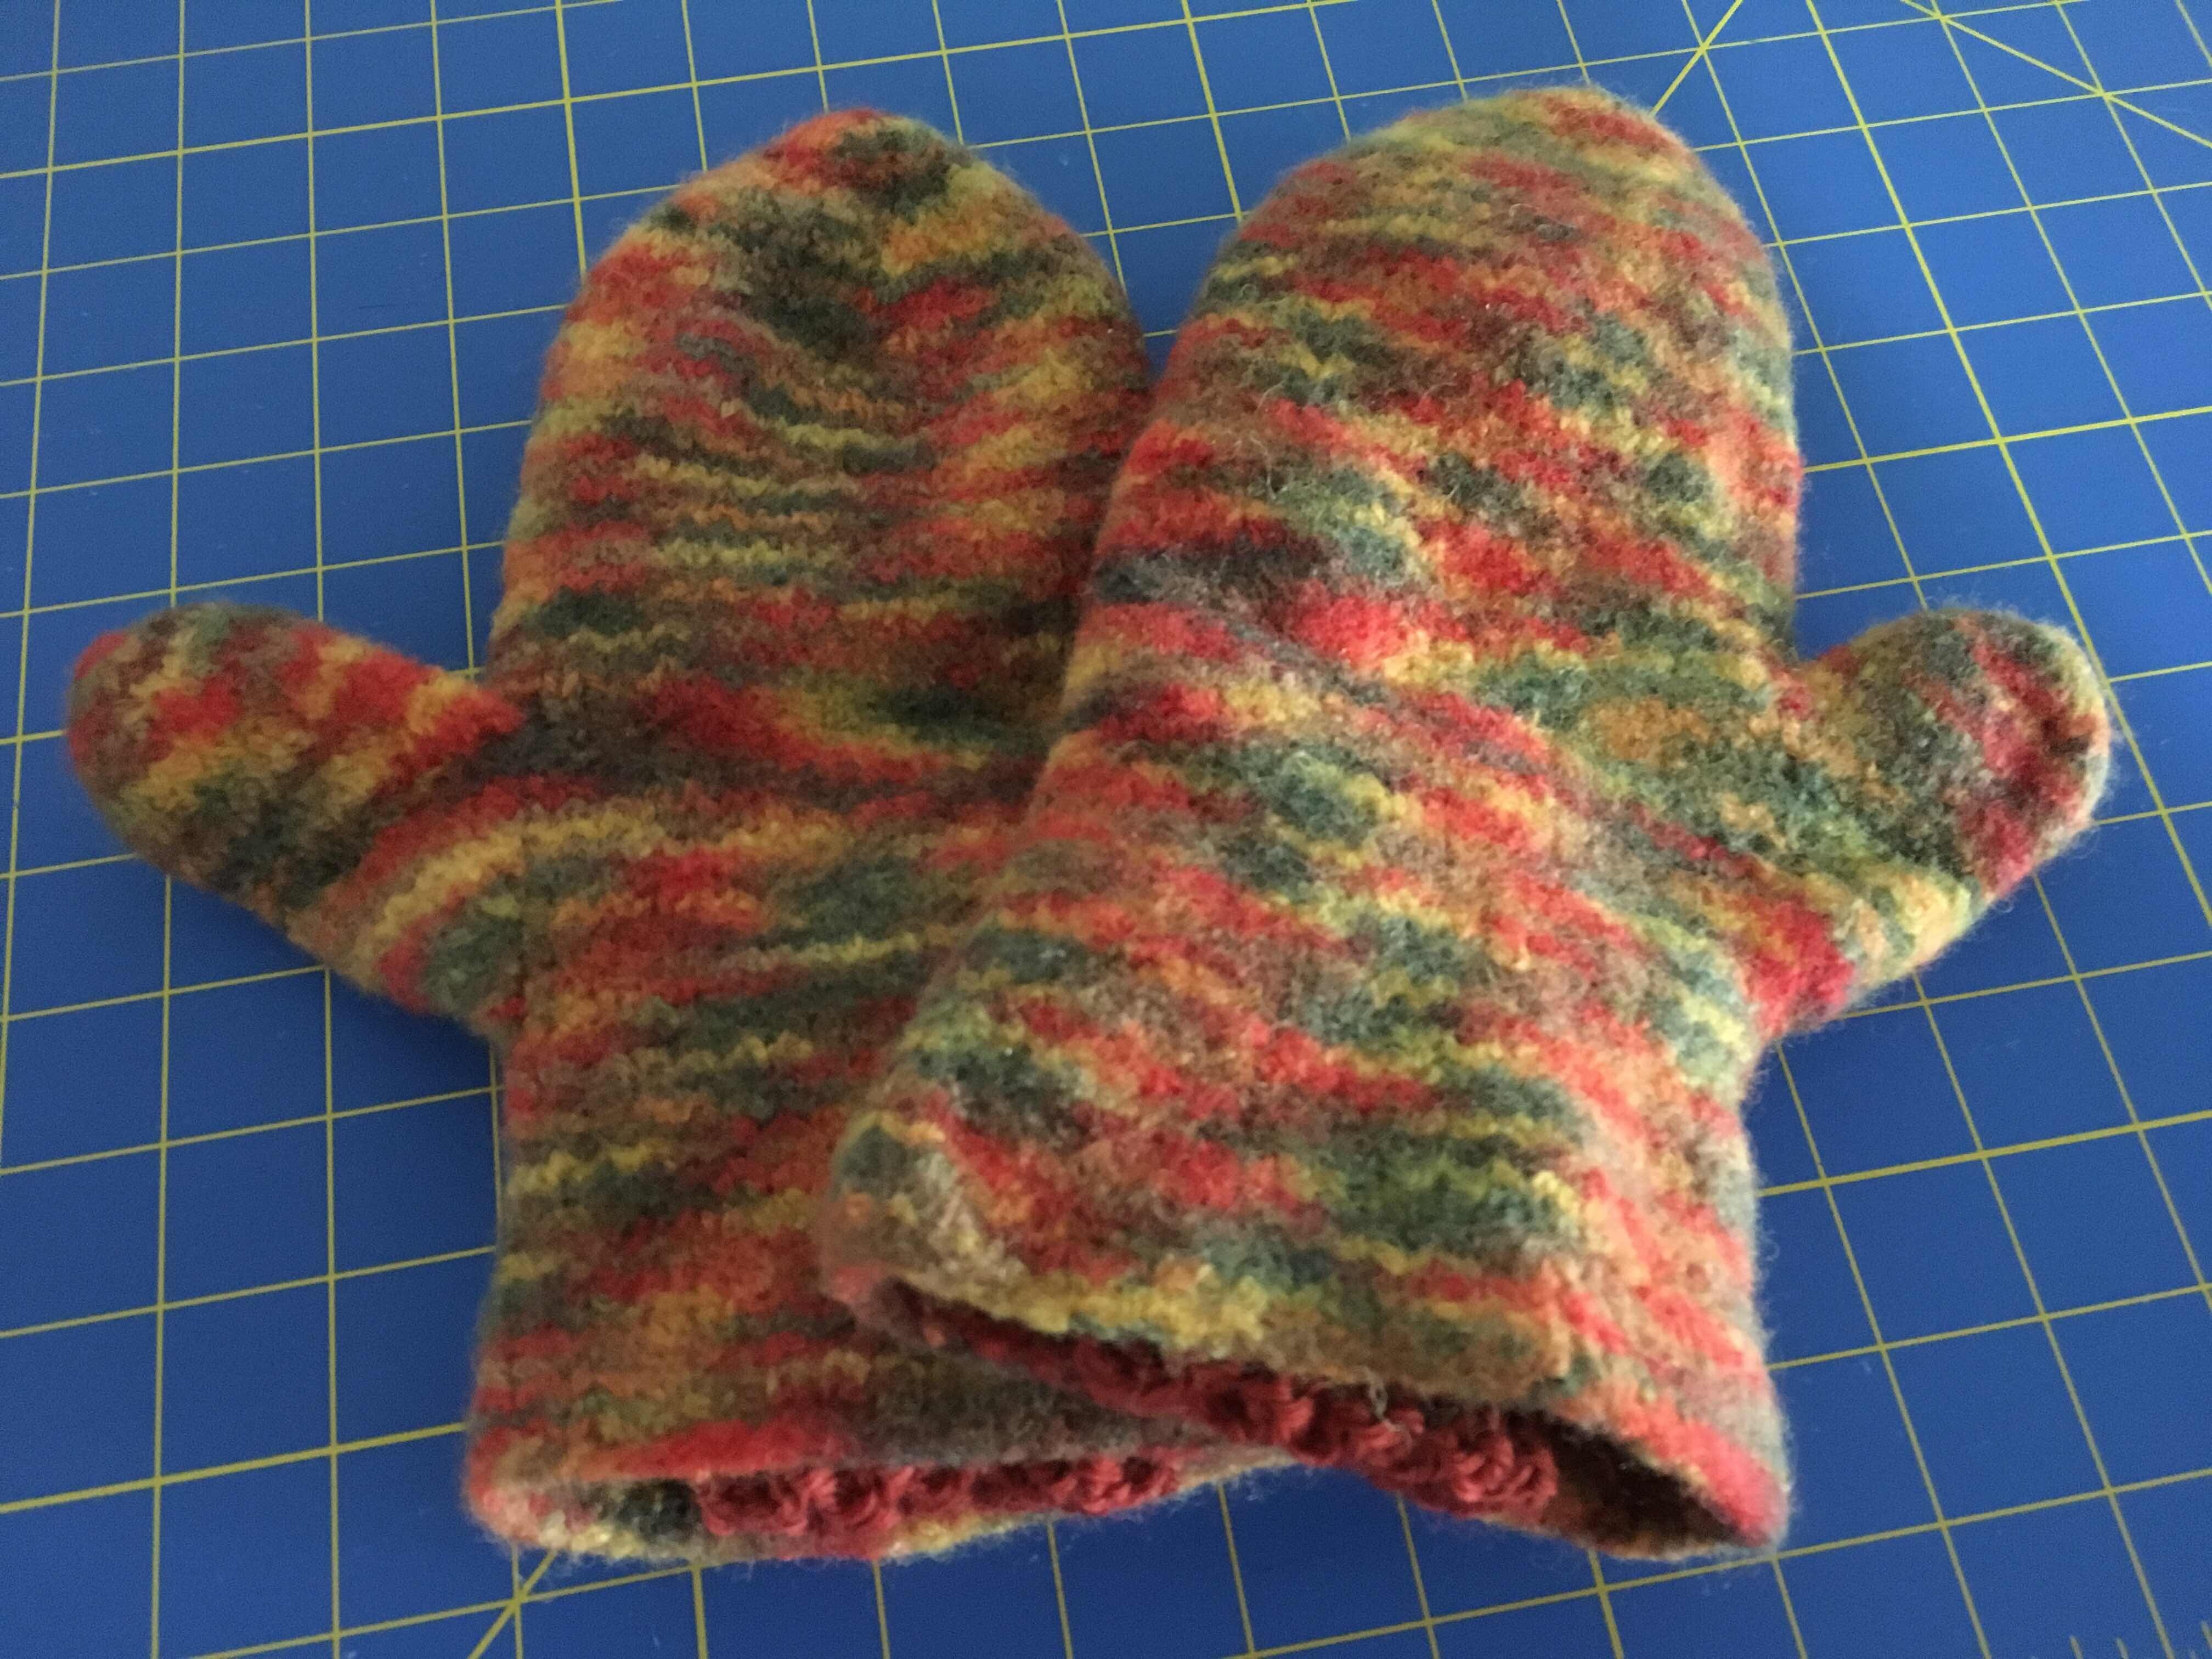
Messy Bun/Ponytail Hat

I am growing my hair out again so I figured a Messy Bun/Ponytail Hat was in order. This is a pattern by Debbie Fring (Bellsisterdebbie Knit Shop). Click HERE for the pattern link.
If you've not seen a Messy Bun/Ponytail Hat, hopefully the photos are pretty self-explanatory. You knit or crochet a hat and you leave the top portion open, leaving room for your bun or ponytail. Pretty fun, huh?
I finally got my husband to snap some photos of me wearing the hat because the selfies I was trying to take of myself were ridiculously awful. After my husband snapped the photos and I looked at them on my phone, I saw that I was photobombed by my little girl dog (Sandy) in every photo my husband took. Too cute!
So the awful photos of this hat (where my head is never centered in the photo!) are my selfies. And the photos with my dog are the photos my husband took. I am putting them all here for you to see. I was cracking up when I could not take a half-way decent photo of my head. Doh!

Nope, not centered!

Ugh, BLURRY!

Hey, I spy "Sandy"!

Blurry and off-center. Why is this so HARD!
Oh, I should mention. This is yarn from a company called "Retold Yarns" from Lakewood, Colorado (Etsy Shop link is HERE). I purchased this yarn at the Salida Fiber Festival (Salida, Colorado) in September 2018. The yarn is worsted weight and the colorway is called "I am Groot". I bought the yarn because the name is great... and I like the colors.
Happy Knitting!