Showing posts with label shawl. Show all posts

Wednesday, February 5, 2020

Bojagi


Bojagi 

I have had this really nice yarn from “Ewetopia” in my stash for quite some time. The colors are called “Citron” and “Aster Blooms”. I purchased the yarn to make a pattern called “Spectra” but fell out of love with that idea. Truth be told, this yarn would look very nice in the Spectra pattern.

Then I found a pattern called “Goldfish Memory” and I started that pattern using this yarn along with some speckled hand dyed yarn.  It looked terrible together.  So I frogged it. The yarn lingered in my stash.


A few weeks back, I was looking on Instagram and I saw a shawl knit up in a pattern called “Bojagi”.  The lady who posted the shawl goes by “KAYTHEARKY”.  

Long story short, I went and grabbed this yarn, cast on the “Bojagi” pattern, and then just knit, knit, knitted merrily along until this project was done.  It was such a perfect and fun knit.  You start off with a little garter stitch, stitch some mosaic stitch, make some beautiful lace, switch back to mosaic stitch, and then race to the finish in garter stitch. It is very unusual for me to work on just one project from start to finish and complete a pattern like this in 12 days, but that’s just what I did because the pattern was so fun.              


It was kind of hard to photograph this project. I think the photos do not do it justice.  It’s really pretty and the yarn is dreamy, squishy soft.  If you’d like to knit this design, I’ve shared the FREE pattern link below.  And I can highly recommend yarn from “Ewetopia”.  I got the yarn at the Interweave Yarnfest in Loveland, Colorado, a few years back.

Here is the pattern link:


Monday, January 20, 2020

Charmayne


Charmayne


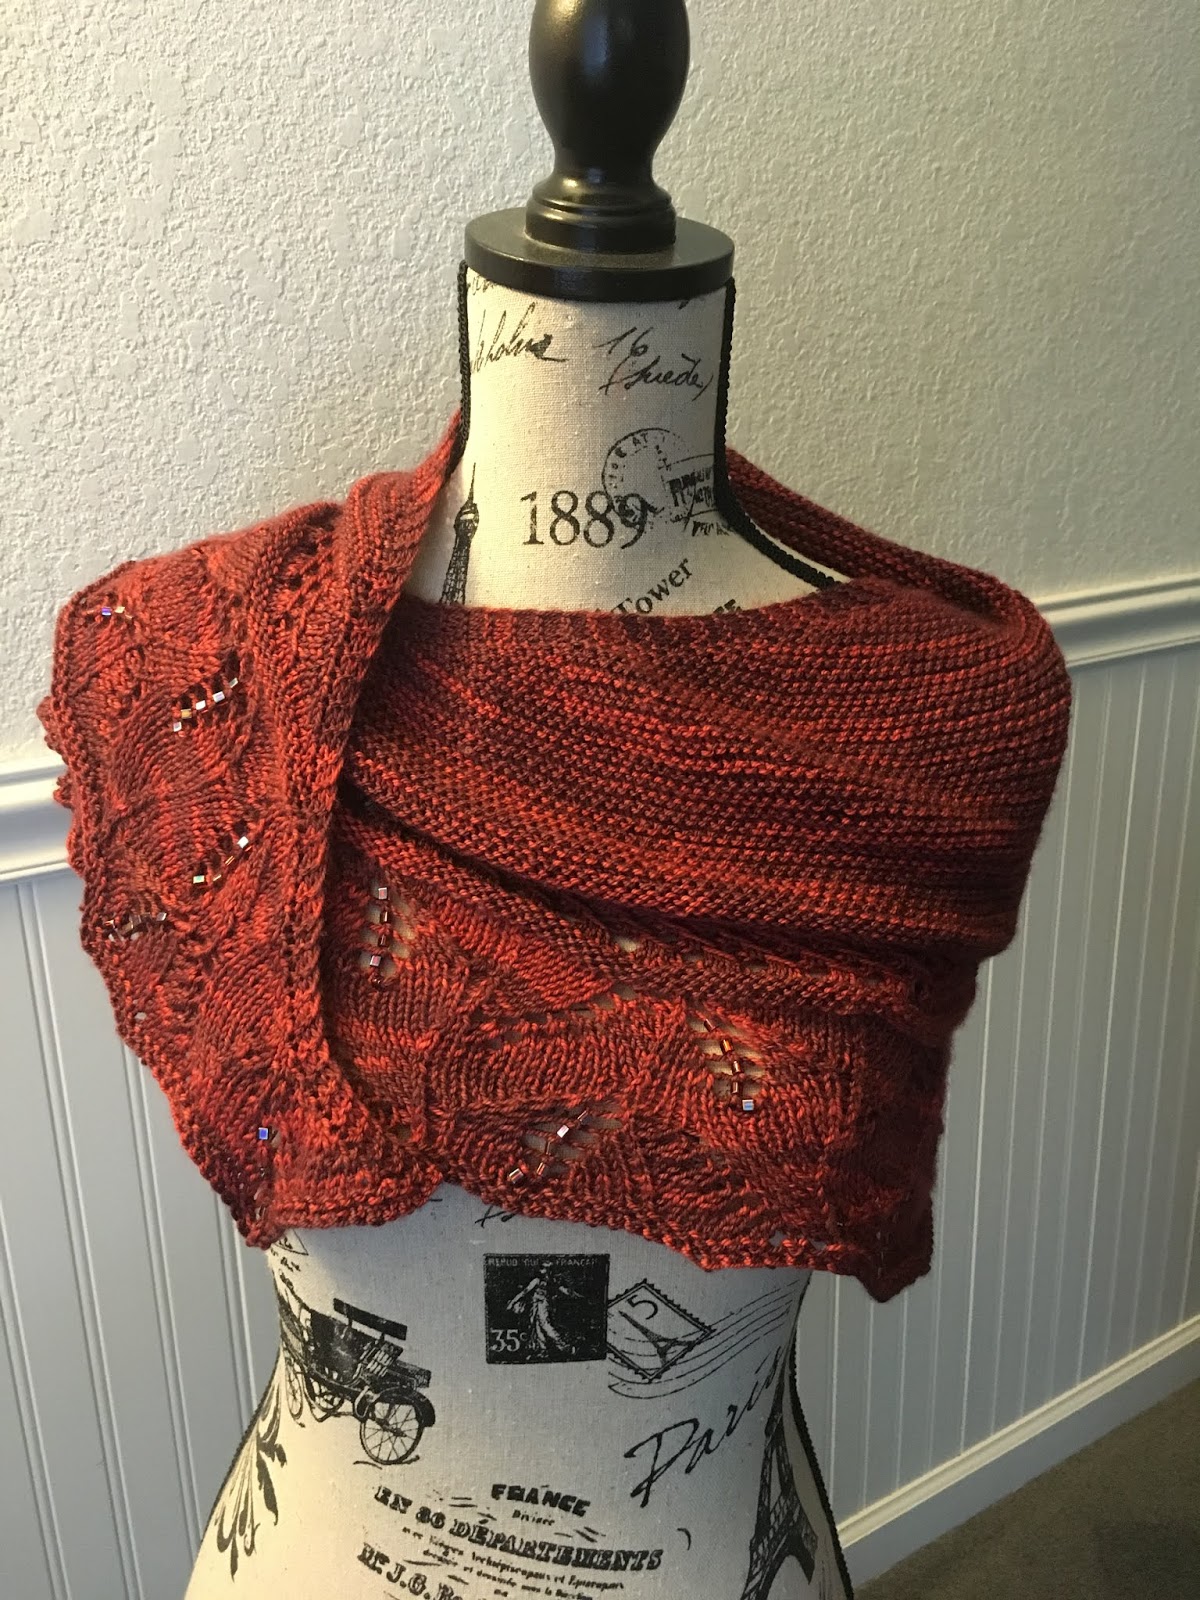
Charmayne, as you can see, is a heavily beaded shawl.  The free pattern comes from “Knitty” and you can find it HERE:  http://knitty.com/ISSUEss18/PATTcharmayne/PATTcharmayne.php

The pattern instructions specify you can make a small or a larger version of the shawl; I made the small version based upon the amount of yarn I had.  My skein of yarn was 100 grams; I had 15 grams remaining after finishing the shawl.  The yarn I used is hand dyed and comes from Andromeda Sock Yarn.  The yarn’s maker is from Colorado Springs, Colorado, and she sells yarn on line and also at my LYS (Yarned & Dangerous, Canon City, Colorado).  The yarn’s color way is “Take a Hike”.

Some completed projects are easier to photograph than others.  I feel as if this was a challenging project to capture in photos.  I am including a bunch of photos so you can see the shawl from a variety of angles.  

If you are interested to know, I think I used about 50 grams of beads in this project.  The beads are Unions 6/0 Miyuki beads and the color is Metallic Mix (01610).  When I started the project, I only had one tube of beads (20 grams).  As I was knitting along, it occurred to me that I did not have nearly enough beads.  After searching for a good long while, I found two more tubes of the same beads on eBay.  Phew... what a relief!

This was a super fun knit. The shawl starts with just a few stitches and grows from there.  As you knit along and the project grows wider and wider, you are pretty much just working in stockinette and then you pay close attention to one edge of the project where the lace and beads are being worked.  At the very end, when the project is quite wide, you complete the final lace border which contains gobs of beads.  I have to admit I was dreading the lace border. I was worried it would be fussy and slow and too labor intensive.  As it turns out, the lace border was not that slow and it was fun.  This is such an enjoyable knit that I can see myself making another Charmayne shawl.


Friday, November 29, 2019

Sky Above, Earth Below


Sky Above, Earth Below


In October, I went to a knitting retreat in the San Juan Islands (Washington State).  The hostess of the retreat was Sivia Harding, who is a knitwear designer.  Prior to the retreat, she sent all the retreat participants a number of her patterns.  That way, we could pack accordingly... what yarn to buy, what needles to bring, and so on.


"Sky Above, Earth Below" is one of her patterns.  You can make a multi-colored larger version of the shawl or you can make a small version using just one skein of fingering weight yarn.  You can also opt to add beads or not.


Here is my one-skein version of Sky Above, Earth Below.  The yarn is from Sun Valley Fibers (Merino Wool, Cashmere Goat, and Nylon) and the colorway is called "Crimson Leaves".  I did not do a gauge swatch before starting this project and I noticed I was running out of yarn as I was nearing the end. I had to skip a number of rows at the end. Perhaps I was knitting too loosely and used up the yarn too fast.  Oh well!


I have completed a bunch of other projects in the past several weeks.  I'll take a little time to show you over the next few days.


Sunday, June 2, 2019

Pembroke II

Pembroke II

I am calling this shawl "Pembroke II" because I've made this pattern twice.  This pattern is FREE on Ravelry and here is the LINK.  This pattern is great to knit while watching TV or traveling.  You just have to pay attention to what you are doing at the ends of the rows; other than that... it's just knit, knit, knit.  The yarn I used for this project is a dreamy merino wool.  Great to wear around your neck!  The yarn is Araucania Huasco sock yarn by Araucania and the color way is called Toco Toucan.  There are areas in the yarn which are an unusual shade of golden yellow.  We often go hiking and there is a particular lichen that looks to be the same color to me.  I love that.  The shawl is an easy to wear garment; it's a asymmetrical triangle and can be styled with or without a shawl pin.  As soon as I finished this project, I was tempted to cast on another.  I enjoy having some challenging projects on my needles, as well as a mindless, relaxing knit.

Up NEXT... I plan to show you the sampler quilt I am making!  


Monday, April 8, 2019

Hogwarts Express


Hogwarts Express


If you are a fan of the Harry Potter books or movies you Muggles will likely know that "Hogwarts Express" is the name of the train students ride to Hogwarts, the School of Witchcraft and Wizardry.  You board the train at Platform 9 3/4 in London.

This shawl is also called "Hogwarts Express". This is a design by Susan Ashcroft.  She has another similar shawl pattern called "TGV: Highspeed Knitting" which is also named after a train.  Both shawls are identical until you get to the border. The main part of both shawls is garter stitch.  In the TGV pattern, the bottom edge is ribbing.  In the Hogwart's Express pattern, the bottom edge is owls created by cable stitches and the owls have bead eyes which are applied one at a time. I had intended to use some hematite beads for the owl eyes in my shawl but the holes in the beads were too narrow for my yarn. I ended up using some dark green beads instead.

I must admit I struggled with the Hogwarts Express pattern a bit.  The pattern gives you a few different options for how to make the tips of the shawl more rounded or less rounded.  The pattern also gives tips for when to start the owl border portion based upon the amount of yarn you have used and the amount of yarn you have remaining.  Frankly I just misunderstood a few things in the pattern and it wasn't until I had already knit the owls that a light bulb went off and I sort of got it.  I think I will probably make this project again and I bet I'll have better results.

I took a number of photos of this project because I've been fussing with the finished object.  I was struggling with how to wear this (it's kind of small), so I decided to overlap the ends of the shawl and I actually stitched it together so that it would be worn like a big collar or a yoke (if that makes sense). I tried it on and was still not happy with it so I undid the stitches and decided to wet block the shawl in hopes it would grow bigger.  It did get bigger and I am happier with this project now.


Here are the hematite beads that I had hoped to use.


Above you can see the yarn I used for this project.  It is Eden DK by Sublime. This yarn is an amazing wool cotton blend.  My local yarn shop, Yarned & Dangerous in Canon City, Colorado, carries this yarn in a variety of colorways.


Hogwarts Express on the blocking mats. What a fun knit!


Saturday, September 29, 2018

Beaded Infinity Scarf


Beaded Infinity Scarf


Pattern: BWC Infinity Scarf (Buffalo Wool Company)
Yarn:  "Nimue Sock" from Wooly Wonka Fibers, Colorway "Peacock"
Fiber Content:  50 percent silk/percent Merino wool
Beads: Size 6 seed beads from "Bead Biz", Color "Dark Bronze"
Number of stitches in project including cast on and bind off: 18,480
Number of beads used: 1,056
Number of beads left over: only 9 (that's cutting in close)
Numbers of rounds I knit before realizing I had the stitches twisted and my cowl is now a "double Moebius shape" (if that is a thing): 64 rounds out of 70 rounds.

Yep, I was nearly done with the entire project when I realized I twisted the stitches after I cast on and before I joined to knit in the round.

Number of years I've been knitting (and should have caught that way sooner): 10 stinkin' years.

Despite all that, isn't this lovely!?!  It sure looks nice when I wrapped the scarf (cowl) double and styled it on my mannequin.  I am sure I'll enjoy wearing this despite the HUGE mistake I made.  Oh well.  This is a project I told myself I will make only ONE TIME.  For this design, you do string the beads on ahead of time. This means you are FOREVER pushing beads (over 1,000 beads) out of your way to make yarn available for the rounds you work without beads before you start knitting with beads.  Another tricky thing about this pattern is that you are always looking at the wrong side of your work when you are knitting so when you are adding the beads so that they appear on on the right side of the work, you are constantly counting and flipping your work around to make sure you are getting the beads in the right spot.

While working on this project I was watching a video class about knitting with beads. The website is "Bluprint" (formerly Craftsy) and the instructor was Laura Nelkin.  She was discussing beads and how sometimes beads are rough inside and sometimes they are smooth.  She said this is an important consideration especially if you are stringing your beads onto your yarn before you begin knitting as I did in this project. Just imagine if my beads were rough inside and I kept pushing them down the length of my yarn until I needed to knit with them. This could really tatter your yarn. She suggested buying Japanese beads as they tend to be smoother inside.  I have a lot to learn about knitting with beads.  And apparently, I need some remedial training regarding casting on a large number of stitches and joining to knit in the round WITHOUT twisting my stitches.


Thursday, September 27, 2018

Nelkin Designs "Lolatude": Kit #1


Lolatude Kit #1

Back in August, I was looking at knitting designs by Laura Nelkin.  I stumbled across her blog where she was advertising an upcoming event where you could purchase project kits and have them mailed to your home for one, three, or six months.  I decided to treat myself to six months of project kits since my 50th birthday was in September.

I received my first kit in the middle of September. This is what came in the package.

  • A Gale's Art Hand Dyed Sock blank (about 33 grams)
  • some beautiful beads
  • a Japanese bead needle
  • some coordinating thread 
  • some candy
  • a post card with keycode to download the project pattern 
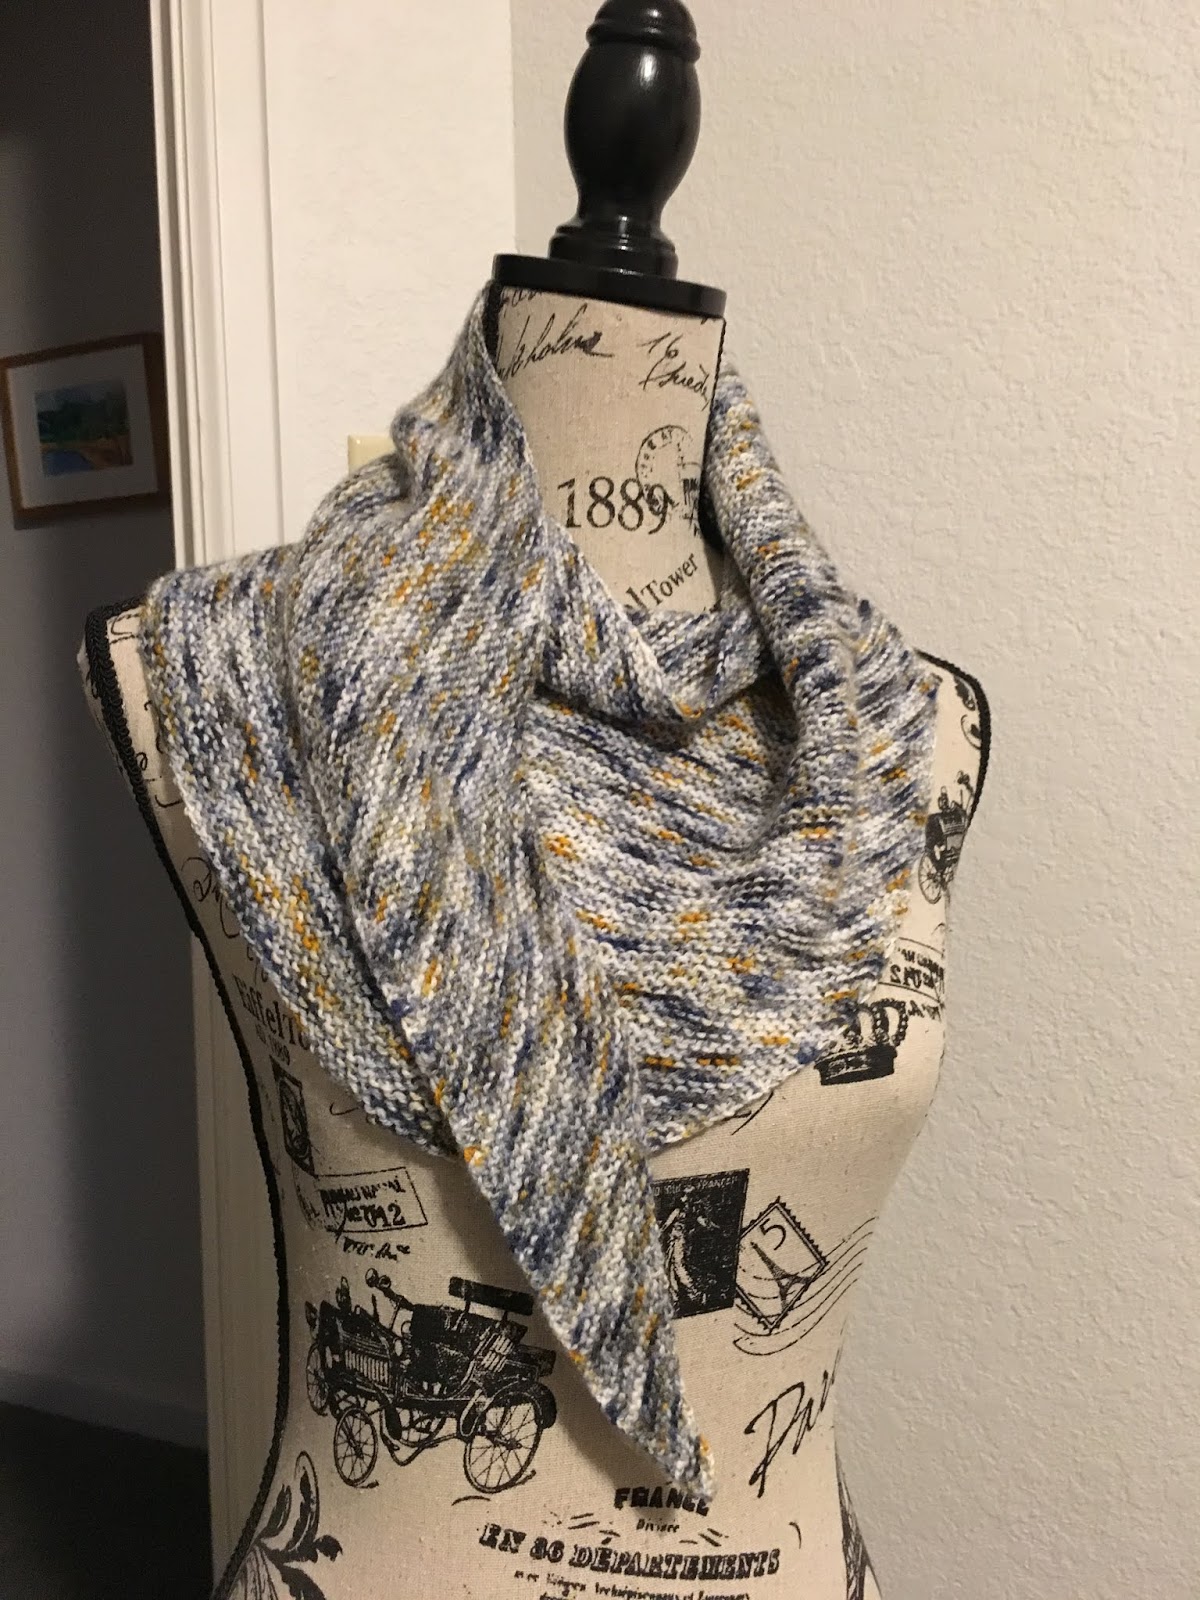
This was a pretty quick knit since it was only about 1/3 the size of a regular sock blank.  The instructions have you knit a boomerang shaped, asymmetrical triangle. You start at the narrow end then and, at the end, you work a number of rows in what's called "linen" stitch.  Finally, you bind off with an "I-cord bind off".  Next you create three tubes out of small (size 6) seed beads using needle and thread.  Thankfully the pattern had a great video link for how to make these Peyote Stitch Tubes.  It was a little tricky at first, but I enjoyed the bead work.  At the end, you sew the tubes to the linen stitch border of the scarf and then you insert the narrowest tip of the scarf through the three Peyote Stitch Tubes.  Each of the tubes is a different size depending upon the number of beads you use when you start the Peyote Stitch Tube.  

Eeeeek!  I made a mistake. I sewed my tubes on in the incorrect order.  I could not insert the narrow end of my scarf in the correct direction so I had to insert it in the opposite direction.  Thankfully it still works, it's just not as the designer intended.  So there you have it... a one of a kind scarf!

Here are some photos to show you what the kit looked like when it arrived.  I am also posting some photos of what the project looked like while in progress. I sure am looking forward to receiving and making my other "Lolatude" projects!